Imagine this: You've hired a new member in your Tech team. Now, all you need to do to finish onboarding is to bring your new teammate up to speed with all your protocols, best practices, and roles and responsibilities of them and their colleagues. So, you send your newest recruit multiple Google docs, one Google sheet, a screenshot of names… the list goes on and on because your data is scattered all over the place! It's only slightly overwhelming for both you and the new joinee.
OR.
You can present them with a slick link to your team wiki that houses all this information, along with a clickable table of contents that makes navigating through the document 100x easier. This also has requisite links nested in the body itself, that can be accessed even without switching any tabs!
It's an easy pick, right? Your fast-paced company culture needs a smoother option that reduces the cognitive load of hunting for a million data points for one job. Therefore, Sketchnote's Wiki view!
In this tutorial, let's learn a bit about what the Wiki view really is, why we added it to Sketchnote, and how you can create the best wikis for your company. Let's go!
What is the Wiki view on Sketchnote?
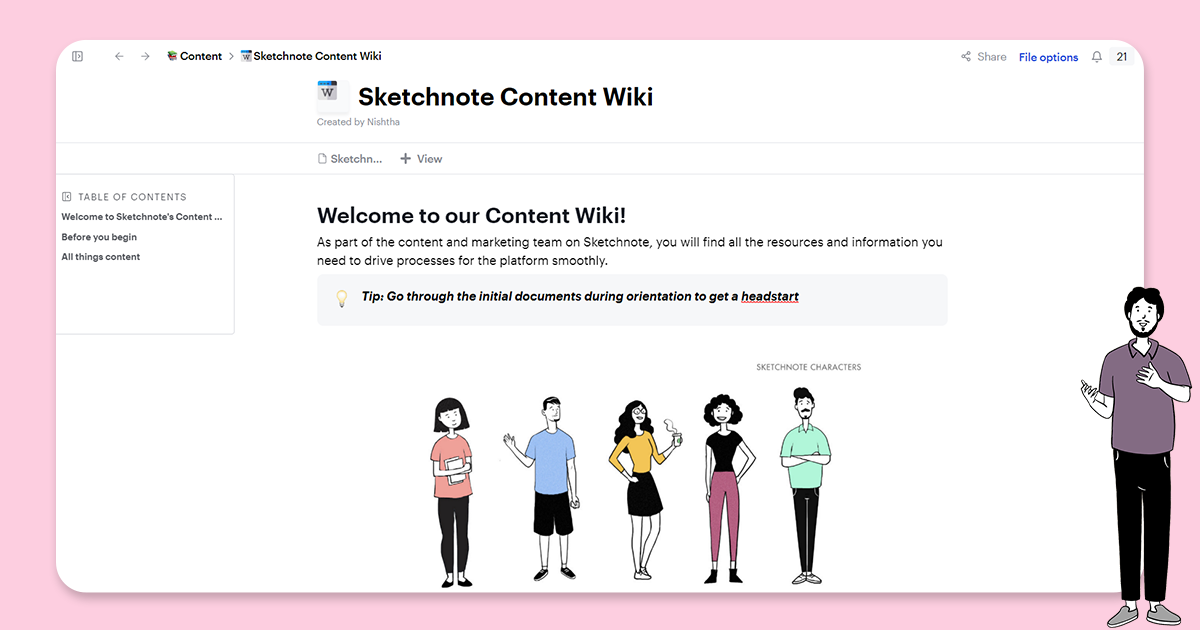
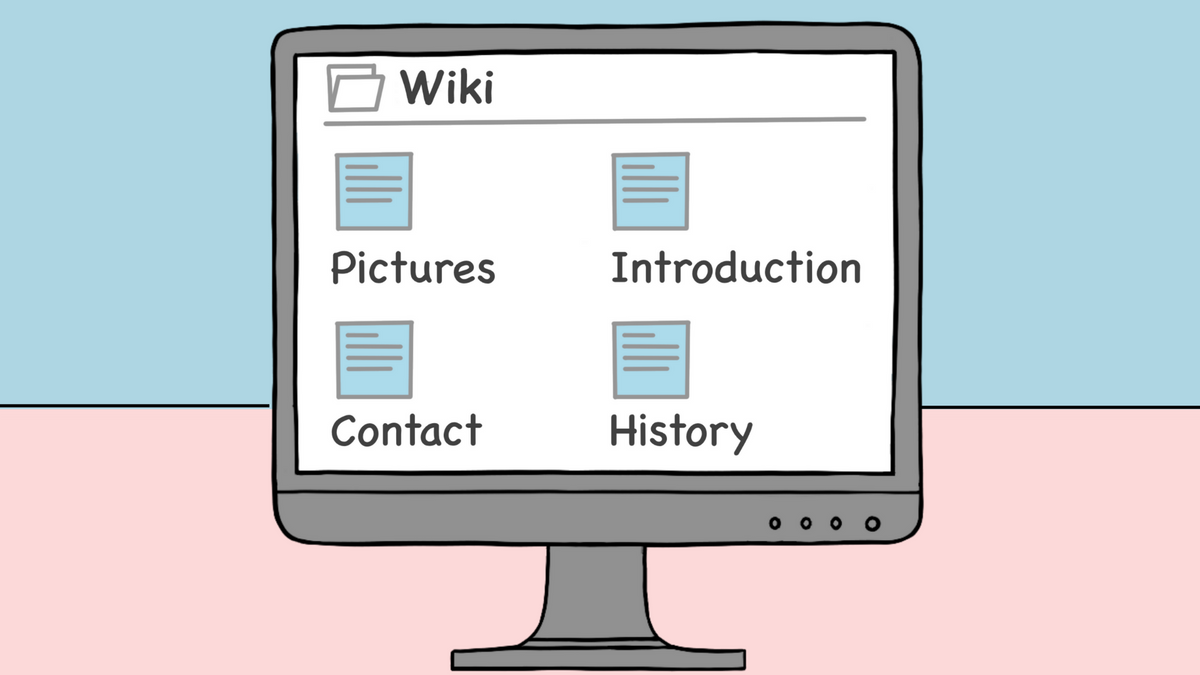
Sketchnote’s Wiki view allows you to create and maintain a repository of information, that's easily navigable and sharable. Plus it houses links to relevant docs as well! Collaborate with your team on designing a wiki, and update this master document when needed. The Wiki view is a critical tool for knowledge management and project collaboration and therefore added to the rooster of work tools on Sketchnote.
What’s more? It’s very easy to format and structure information without needing to understand complex coding or programming. It’s quite simple! Let’s quickly walk through how to create a wiki on Sketchnote.

How to create a wiki on Sketchnote?
Get started by creating a wiki file on Sketchnote. Here’s how:
- Log in to your Sketchnote account
- Click on “Start new file” on the sidebar
- Firstly, choose a workspace you want to save your wiki in or save it in the Private section
- Then, hit “Wiki” under Page views
- And finally, click on “Create file”
It’s now time to add information to your wiki.
With the “/” command, you can summon a host of tools to format the contents of your wiki, like the heading types, tables, checkboxes, embeds, and more!
The table of contents on the top-right of your wiki populates all the headings in your wiki, in the hierarchy you entered them in. You can easily navigate to any part of your wiki by clicking on that heading in the table of contents.
A final accessory that makes the wiki complete is adding other Sketchnote file links to it. Once again, it is the “/” command to the rescue. Simply hit ”/” and choose “File” in the list. Select a Sketchnote file to add to your wiki or create a new file with the “Create a New File” button.
And there you have it. All the basic information you need to get started with the Wiki view on Sketchnote! Wondering what you can really use Skechnote's Wiki view to build? Check out some use cases before you dive into making one for your team.

Sketchnote's Wiki view in action
Need to create an organization-wide corporate wiki? Fire up a Wiki file on Sketchnote to store all the information about your company's roadmap, legal compliance frameworks, SOPs, organizational structure, and more, in one place! Wikis also have excellent utility as educational tools, to maintain study material and additional reading resources systematically. Further, researchers rely on wikis to store all their research findings, notes, and other important information in an organized fashion.
This tool is a boon for organizing open-source data and making access to this information easier, as is the case of open or closed communities built around a specific topic of interest. If you're a community leader, you can use wikis to share detailed (and often complex) information surrounding the topic of the community, including events, resources, and other important updates.
Lastly, Sketchnote's Wiki view is also useful for personal projects, such as planning a trip, organizing a party, or keeping track of your personal goals!
Now, take a look at how you can use Sketchnote's Wiki view to take your own wikis to the next level!

Amazing features to elevate your wiki experience on Sketchnote’s Wiki view
Wikis are all about collaborating on the go and maintaining a vast repository of information in one place. And Sketchnote takes these aspects to the next level. Let’s see how.
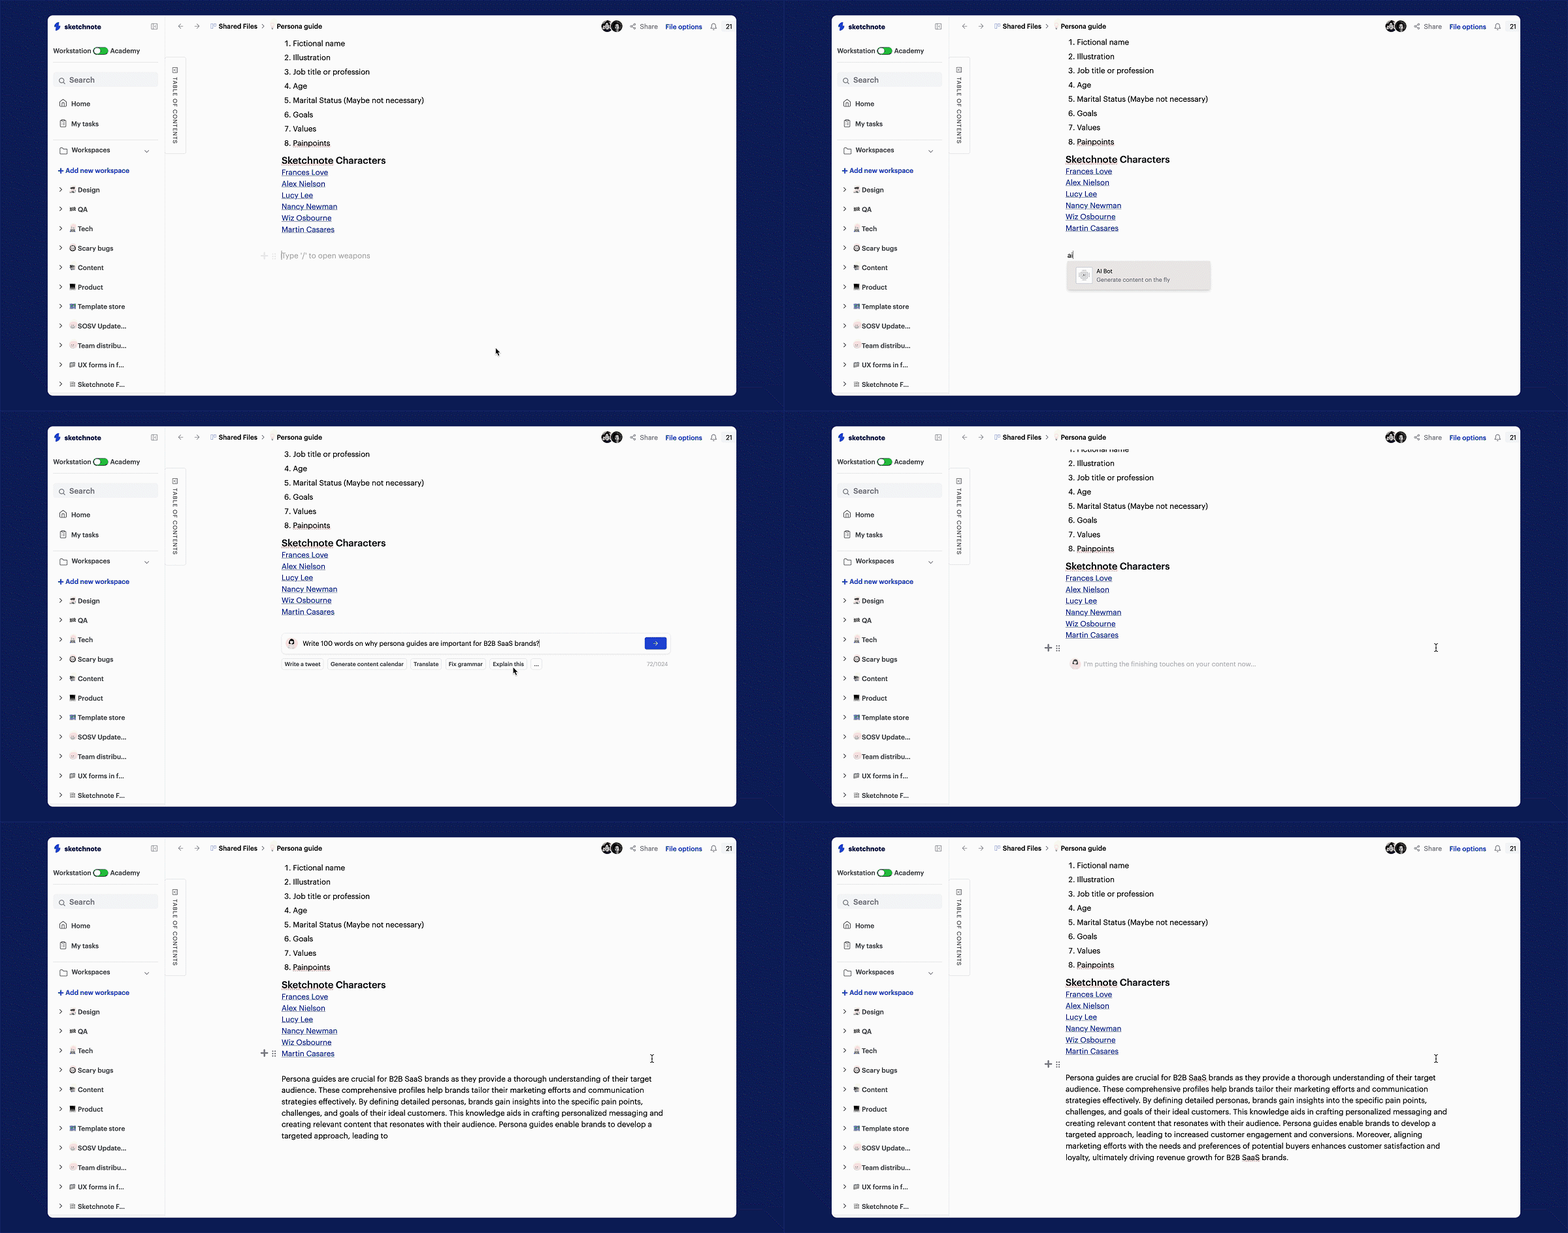
- With the “/” command, you can summon Sketchnote’s AI Bot. Powered by OpenAI, use the AI Bot to write first drafts of your content, and edit them as per your specific needs. Simply type in your prompt, or use one of the many prompts on the bot itself, and generate the content you need.
- Easily share your wiki with your team, and even external parties, with the “Share” button on the wiki file. Hit “Share” and enter your collaborators’ email IDs, or create a public link. Read more about the Sharing options on Sketchnote files here.
- The “+ View” button on your wiki allows you to add other Sketchnote views to your file. Add further details to your wiki with these views, like Worksheets, and calendars among others.
Congratulations! You can now create and manage Wikis easily. Go ahead and explore the Wiki view on Sketchnote. Happy working!
New to Sketchnote? Here’s why you need to build your startup with us
Sketchnote is an all-in-one startup OS for learning, team collaboration, doc management, and legal help. It’s a platform created for entrepreneurs, by entrepreneurs. With Sketchnote, you can bring your team on one page and work on top-of-the-line features such as:
Workspaces that double up as a hub for your teams and projects
Kanban and Whiteboards Boards that bring your tasks and teams together
A fully-loaded markdown editor to create any document—from pitch decks to team wikis.
Fill-and-go legal documents like NDAs, MOUs, ESOPs, and more
Handcrafted and curated startup lessons to take a deep dive into every aspect of startup building and scaling.


